Sunday, October 12, 2014

DIY Pallet TV Stand


Just showing off our TV stand that my handy, hubby-to-be made out of pallets.

 Also, check out the DIY Pallet Bed he made.


READ MORE...

DIY Pallet Bed


It's been a while since my last post! Because it's been a while since I got to do any crafty stuff. We have been doing a bit of travelling around Australia and have just settled in Darwin, and will be staying for a year then moving on again with our travels. When we first moved in to our cute little town house, that we share with another couple, we are on a bit of a budget. So, my handy, hubby-to-be and I decided to get our DIY on and make a bed out of pallets!

I had a look around for some ideas on Pinterest and the web and suggested to have little storage spaces within the bed because our room isn't all that big so the extra storage space would be handy.

We picked up a few pallets and away Shane went with the building, sanding and painting. The credit of the making of the bed definitely goes to him. I helped with painting a little bit *wink* but I wasn't as hands on with this on and just wanted to share his handy hard work. The perks of having a carpenter fiance! (Didn't get any action shots because he worked on this while I was at work)


We used some of the pallet slots for storing our shoes, and he came up with putting drawers at the end. He added some shelving to the bed head as well.


With the left over pallets, he then made a bed side table with a drawer, which I painted!


I just love our pallet bed! It turned out so good and we even got compliments on it from our landlord and asked Shane if he could make her one ha ha!

Shane also made a TV stand out of pallets, clever man.

So, here is another one to add to the collection of pallet DIYs ideas/inspiration!

READ MORE...

Tuesday, November 19, 2013

DIY Craft Table


Just wanted to share the craft table I put together for my sister and I, last September, in my parents' basement.

Here's is the mess and clutter it was before (don't mind the bad photo taken by an old BlackBerry and it's the only photo I have because I lost my camera with the before shots last year *tear*):


I'm sure some of you maybe have seen this brilliant craft table circulating Pinterest and DIY blogs. I got the idea from the Ivy Cottage Blog (which is no longer available) but here is one of the images from the post. 


I just loved how the 'legs' were shelves and it's a great way to store all your crafty knick knacks. 

I bought the shelves from Walmart and the table top from Home Depot. The teal colour on one of the backs of the shelves was just some poster paper painted with the same paint we used to re-paint the end tables on the entertainment side of the room. I decided to use it there to help create a flow between the two sides.

For the table top, I put a few rubber bumper pads underneath to prevent the top from sliding off the shelves. Alternatively, you could screw it down, but I decided not to in case we decide to move it or change it to a bigger table top. A special thanks to my sister, Tiff, for taking the photos while I'm on the other side of the globe.


Here are a few more ideas, and different versions of the craft table:
http://homemakerchic.com/tag/diy-craft-table/

READ MORE...

Friday, October 18, 2013

Halloween Inspiration - DIYs & Printables

I love seeing all the creative costumes and ideas that people come up with for Halloween. I also love dressing up and going to a great Halloween party. Living in Australia, Halloween isn't really celebrated as much as in North America so I was thinking about throwing a Halloween party here with a few friends but haven't decided yet because it has already been a busy month for us and will continue to be until Christmas, so we shall see!

So if you've decided to throw a party, here are some of my great ideas and DIYs - the little details and touches - to make your party spooktacular! I was thinking about making some Halloween printables but there are just so many awesome ones already out there so I'm also sharing my favs.

Decorations & Party Treats:

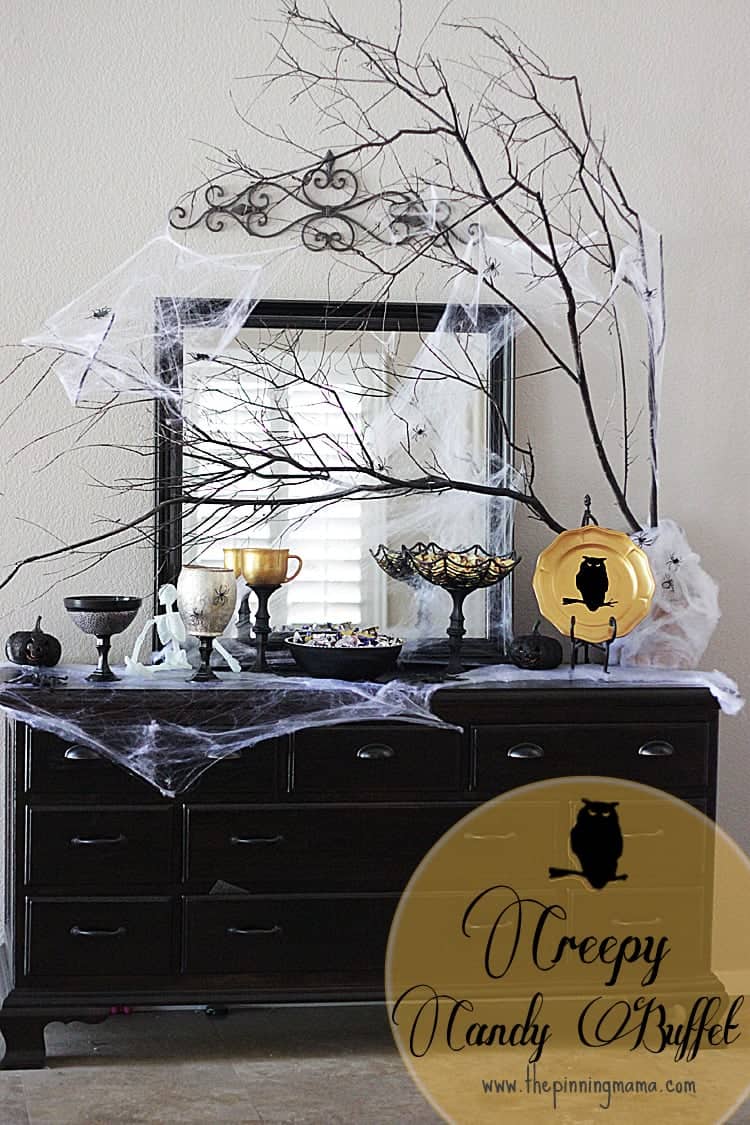
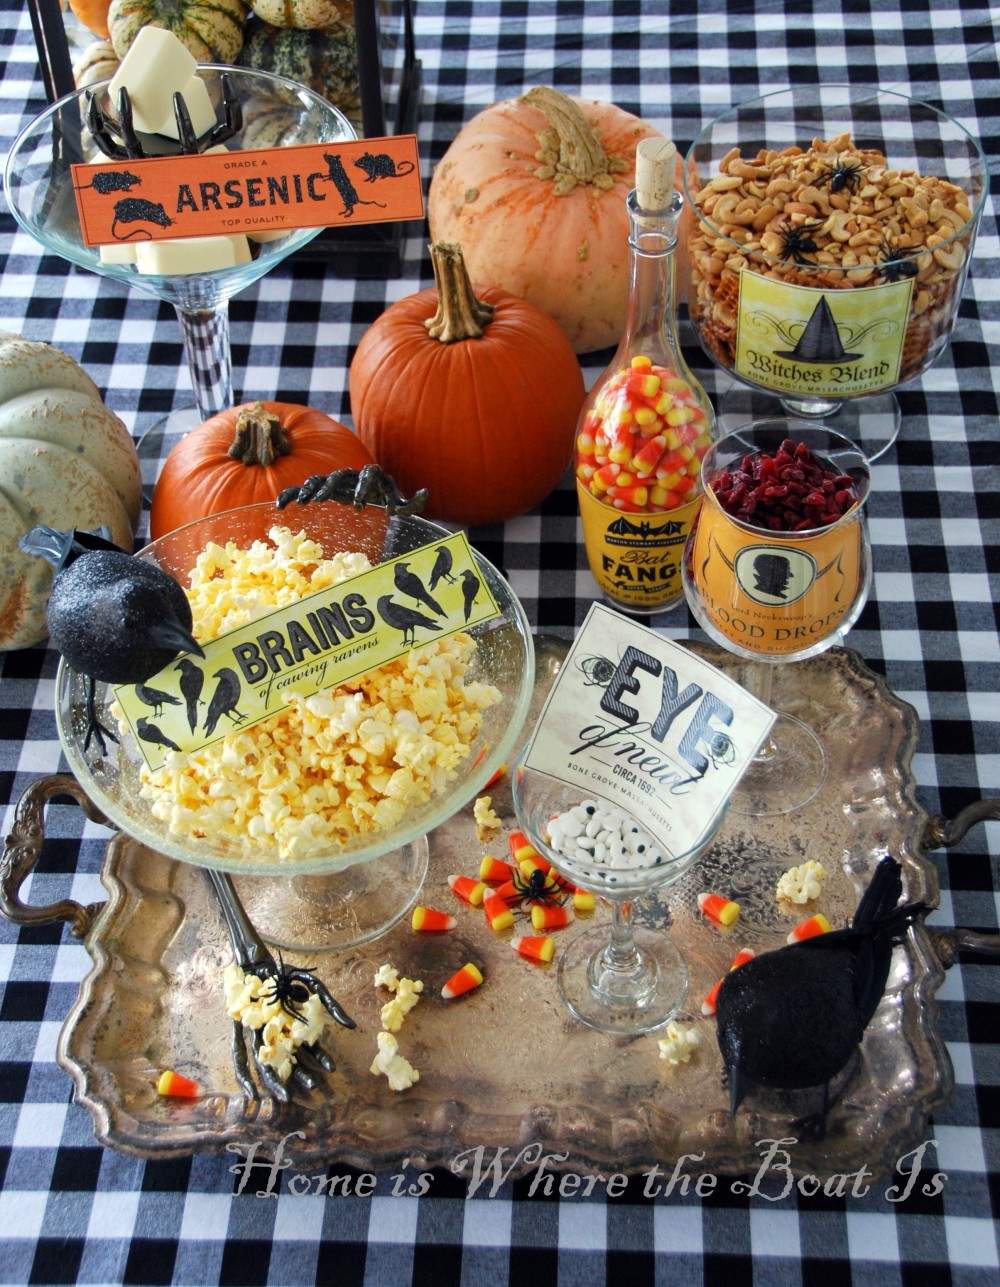
Halloween Creepy Candy Buffet | The Pinning Mama

Great 'Line-Up' photo booth idea | Ace Halloween / Smilebooth]
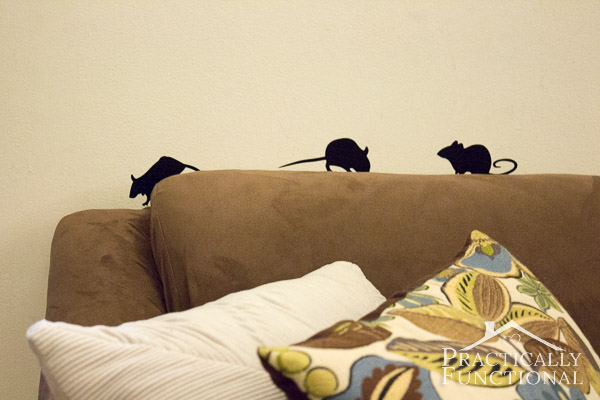
Here's a super quick and easy one, Vinyl Mice Halloween Decorations | Practically Functional
Ghost Caketoppers 2 Ways | The Craftinomicon


 Printables:

Cute Halloween Cupcake Toppers | Minted Strawberry

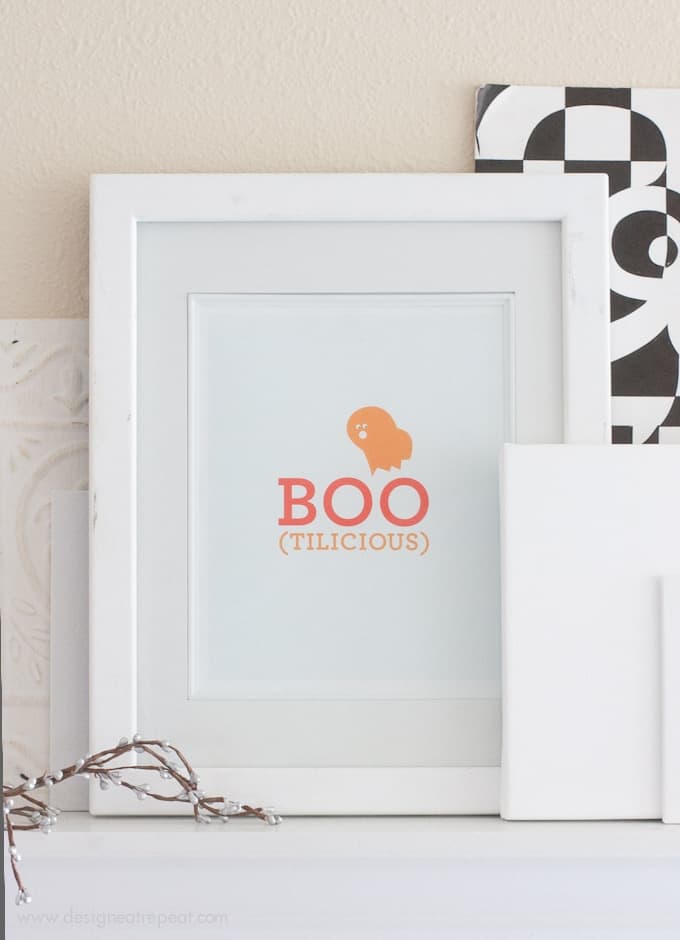
Halloween Printable Wall Art | Design Eat Repeat

Free Printable Halloween Treat Packets | Minted Strawberry

Cute Ghouls Party Rounds Halloween Printable | Design is Yay

A few different Halloween printables/labels | OnlineLables.com

Free Printable Halloween Banner and Bats | Liagriffith.com

Halloween Printable | Craft Pond


READ MORE...

Wednesday, October 16, 2013

Quick DIY T-Shirt Canvas Wall Art


Here's a quick and cheap DIY to repurpose that old favourite tee into something you can hang on your wall. I got the idea from a few blog posts and pins.

What you'll need:

  • a canvas
  • staple gun or thumbtacks
  • iron
  • a t-shirt. 


How to:

  1. Cut out the front of the shirt. 
  2. Iron away all the wrinkles and fold lines. 
  3. Position and centre the shirt on to the canvas, take into account the amount of stretch that will occur when stapling (which I missed in one section so the graphic isn't totally straight, but it still looks alright!). 
  4. Pull fabric tight over the back and staple or thumbtack
  5. Display!

Here's a few posts that inspired me and how-to's: 
DIY T-Shirt Canvas Artwork
Recycled T-Shirt Canvas Art
DIY Canvas Wall Art


READ MORE...

Thursday, July 4, 2013

DIY: Painted Table & Chairs Makeover


So I got this free table off of Gumtree (like a craigslist/kijiji but in Australia), late last year, just as an extra table for our old place. I've always had ideas around painting and revamping it but it wasn't in bad shape and still looked decent so just never got around to it. Finally the day came, a few weeks ago, where I was really motivated to give this thing a makeover! 

I got some inspiration from a collection, I saw in a Home Beautiful Magazine, by Swedish designer Per Söderberg. The table had a dark top and yellow legs and I immediately loved it! 

Went to the local hardware store, stood in front of the paint samples for ages (with a boyfriend, growing very impatient, wandering around the store), I finally decided on a light, bright yellow for the legs and a grey for the top. I really should have went and chose the fabric for the chairs first but I chose it after getting the paint and lucky for me I came across this lovely yellow and white chevron, velvety fabric that was a great match. 

I'm not going to do a how-to as there are so tutorials out there already (like this one). I just wanted to show off my new set of table and chairs and perhaps give you guys some ideas for your next painting project! After a few coats of paint (I realized how painful it is to paint chairs haha) and staples here and there, and taa daaa, I sooo happy with the way it turned out!! Even Shane was impressed! ;)


READ MORE...

Monday, June 3, 2013

DIY: Tea Bag Holder Using Jar Lids


Got some jar lids kicking around? Here's a quick DIY. Turn those jar lids into used tea bag holders!
I didn't have any little saucers or plates that I could have used for my tea bags and other plates just seemed too big to use. One day as I was cleaning some jars and making myself a cup of tea, and without thinking I placed the used tea bag on the upside down lid that was sitting on the counter. I thought, wow, what a perfect size for tea bags. And that's when the DIY-moment came along.

You'll Need:

  • jar lids
  • super glue
  • spray paint

How To:

  1. Wash and dry the lids
  2. Make sure you are in a well ventilated area. Put some super glue or loctite/epoxy on the inside of the lid to cover the rubbery ring/seal and let it dry overnight (first time I spray painted the inside without the glue the paint rubbed off the rubber seal, so I tried loctite and it worked wonerfully).
  3. In a well ventilated area, spray paint (your colour of choice, I chose black to match our black mugs) the inside and topside, allowing drying time between sides and coats (2 to 3 coats should do). 
  4. Leave the lids to fully dry for at least 24 hours after the last coat of paint. 
  5. Wash and dry before you use it with your tea bags!


READ MORE...

Wednesday, April 3, 2013

DIY: Canvas 'Pin' Board


I did this painting last year. Being a Canadian with a love for snowboarding, I wanted to bring the mountains into our Australian home somehow. So, I just started playing around with some ideas and came up with this snowboarder in the mountain concept. Not bad since I haven't picked up a paintbrush in long time, but I never really whole-heartedly liked it so, after a year and a half, I decided to paint over it for something new. I wanted something colourful and abstract. I also got some inspiration from Dans le Townhouse.

After placing the finished painting on my desk, behind my laptop, I decided to turn it into a 'pin' board with some string and mini wooden pegs. It worked out really well and it's much prettier than the usual cork pin board - and super easy too. Here's a few ideas for ways to use your canvas pin board: as a note board, inspiration board, photo display, or mood board. My board contains a little bit of each! So, pin - or should I say - 'peg' away.


You'll Need:


  • a canvas, whatever size suits you
  • acrylic paint
  • paint brushes
  • your imagination
  • string / yarn
  • small wooden pegs
  • masking tape

How To:

1) Paint your canvas. A few coats of new paint, and this is what I came up with:


2) Measure out the length of string needed from one end the other. Fasten one end of the string to the back of the canvas with some painter's tape. I clipped a few pegs and hung a few papers to get an idea of how the string will hang on the canvas. That way I would know how much slack to give before taping the other end of the string.

I chose tape so if one day I decided to hang it up just as a painting, I can easily remove the string. You go even further and paint the wooden pegs but I just left them au natural since my background is quite colourful. I went with 2 rows higher up because I wouldn't see the bottom anyway with my laptop in front.


3) Time to hang your notes, pictures, reminders, dreams, goals, inspirations, etc.


READ MORE...