Thursday, March 14, 2013

Printable: St. Patty's Keep Calm and Pinch on

St. Patrick's Day is only a few days away! I saw this saying browsing around the other day and it made me smile and I thought I might get into the green spirit this year. So I made this quick, fun printable for the the special day and I hope it makes you smile too!  Here's another one to add to the multitude of 'Keep Calm's out there.

Happy St. Patrick's Day!

I've made this a 5" x 7" print out but you can easily resize the JPG in Word or Powerpoint.
Few ideas: frame it, stickers, cards, share it, phone wallpaper, tags, magnets, etc.

PDF or JPG
PDF or JPG

READ MORE...

Tuesday, March 12, 2013

DIY: Jewellery Stand / Cart


I did a simple add-on to this IKEA GRUNDTAL Cart/Trolley a few years ago and it is still one of my favourite things in my room back at my parents' house. It's meant to be for bathroom storage but I use it for my accessories, hair stuff, lotions, makeup, etc. and it sits right beside my mirror so everything is at a hands reach.

How it came to be... So one day, I came across this wire hanger set from IKEA, which hasn't been used and was just sitting in my basement. I was looking at the clips that come with it and a light bulb went off! Why not use these clips on my little cart to hang my necklaces? I thought I was really clever at the time ha ha! Anyway, I thought I should share this quick and easy DIY with you all.

I wish I could have this here with me in Oz, but maybe I'll just have to make another one for while I'm here?

(Thanks to my sister, Tiff, for helping me take these photos the other day since I couldn't, because I'm half way around the world. Someone invent a teleporter already!)


You'll Need

  • A GRUNDTAL Cart/Trolley, from IKEA
  • RIKTIG Curtain Hooks, from IKEA
  • Pliers

How To

  1. Hold on to one side of the loop, using pliers to hold the other side and bend/twist to open gap large enough to fit it over the bar. If you have 2 sets of pliers, it might be easier to use one on each side and it's not as hard on your fingers. 
  2. Hook it on to the bar.
  3. Bend the loop back to its original state with the pliers to close it around the bar.. Repeat steps 1 to 3 until you have desired amount of clips hanging from the bars.
  4. Hang / clip your jewellery.
  5. Voila! Your very own Jewellery / Accessories Cart.

These are the hooks that came with the DEKA Curtain Wire but you can get similar ones such as the RIKTIG clips.
Tiff, demonstrating hooking it on to the bar for us.
Using pliers bend the hooks back to original position.

Like my old school, boxed TV in the background? 


READ MORE...

Monday, March 4, 2013

DIY: Paint Chip Wall Art


Inspiration
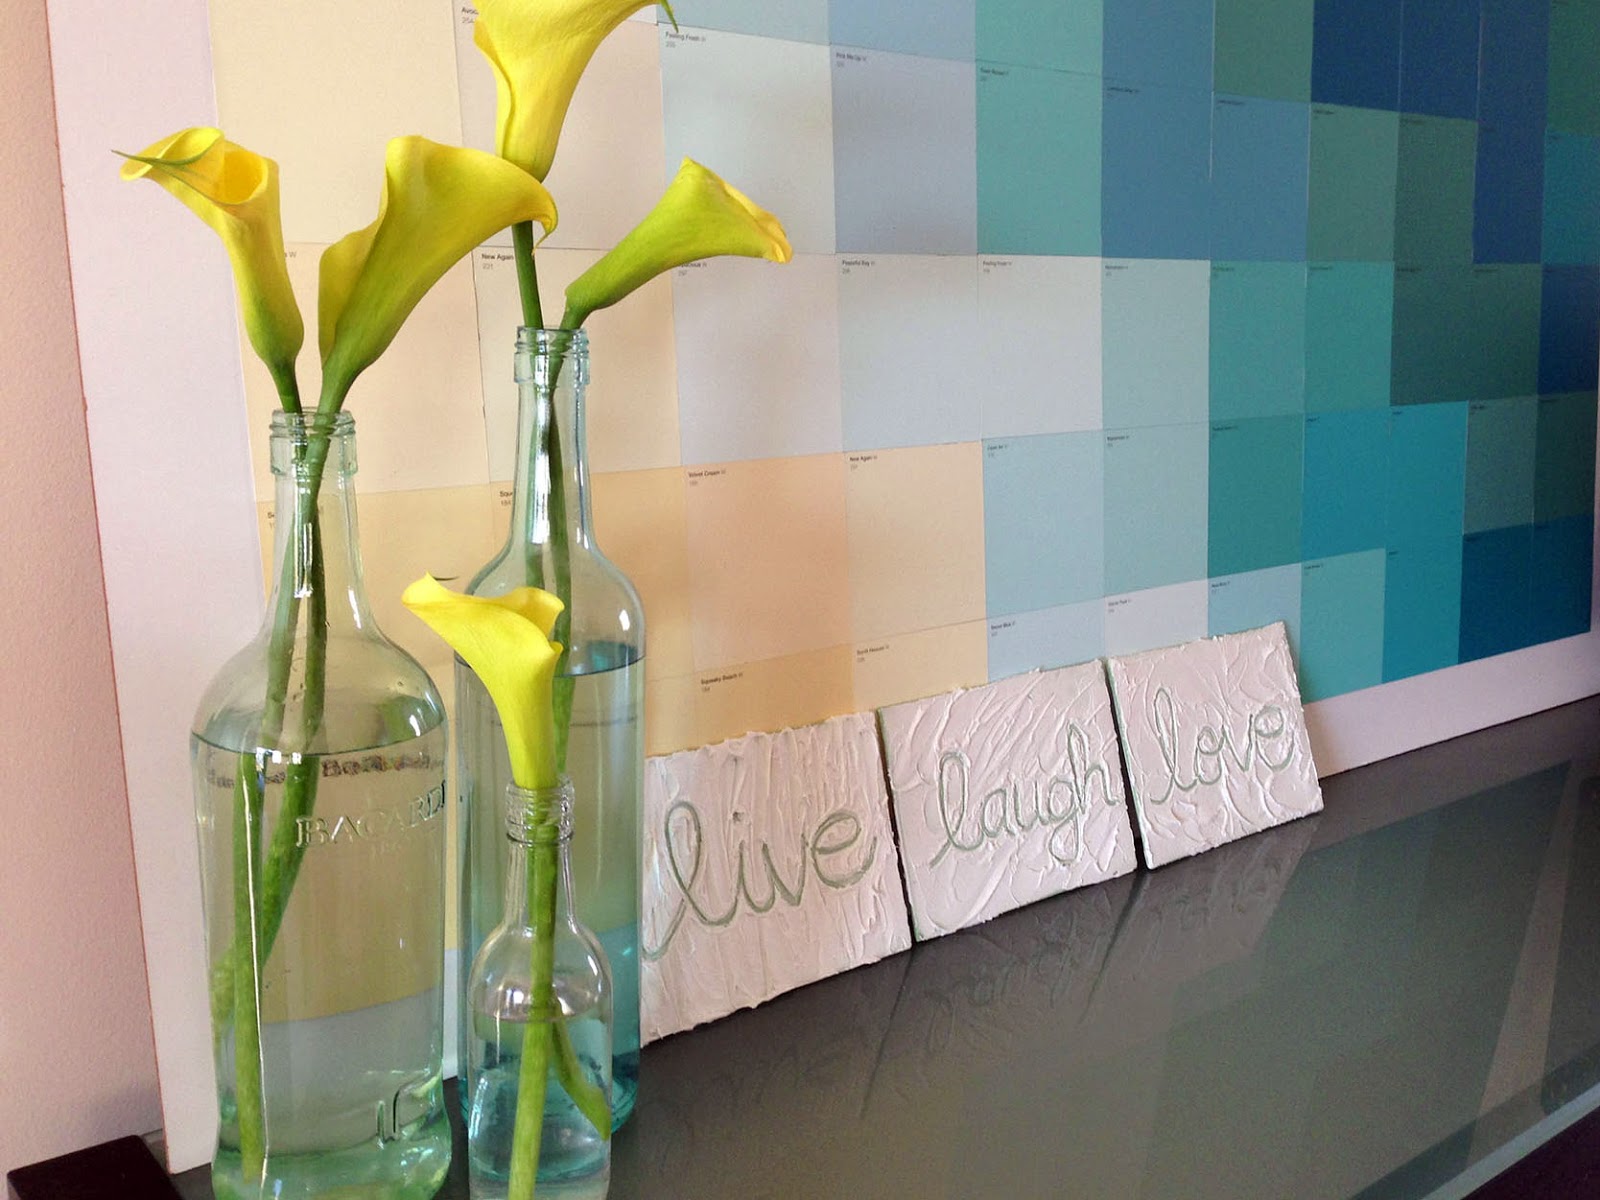
Here's a super easy, and cheap way to fill up a big, empty wall space... lots of paint chips on a large piece of hardboard! I know it's not an original idea but I just really like the way they it looks. When I was re-decorating the basement (the theme was geek chic), back home in Calgary, I was looking for ideas to decorate the walls and came across this DIY wall art for my inspiration. There are countless ways to use / lay out the paint chips but I just kept it simple because I like that pixelated, water colour look. And since both my sister and I are in the graphics/new media industry, I thought it was a suitable piece for the space.
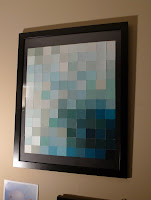
My first paint chip art for
the basement of my parents'
house back home in Calgary
I had made a poster size one for our basement, but for our place in Newcastle, Australia, I wanted something on a bigger scale. Living in a rental, on a 6 month lease, and not wanting to spend a lot of money on decorating, but still wanting to make the place feel more 'homey', it forces you to think of or find other, more affordable, ways of decorating! The colour of the walls in this rental is like an old, creamy-yellowy colour which I'm not very fond of so I wanted something big and affordable to fill the big wall space up.

So, I went to the local hardware store for the paint chips. Collected a whole bunch in blue, green, pale yellow hues as I wanted an ocean/beach feel because our place is a few kilometres from the beach. I loved how big these paint chips were too and conveniently already squared = no trimming necessary.

What You'll need:

  • a large piece of hardboard, from your local hardware store
    (the one I found is about 48" x 36")
  • a bunch of paint chips, free from your local hardware store
  • double-sided tape
  • paper cutter or x-acto knife to square the paint chips if needed

How to:

1. Once you've picked up your paint chips and hardboard, arrange the paint chips on the floor to your liking.

Note: You might have to do some measurements and calculations as to what size you want your final piece to be for the hardboard and how many chips you'll need because paint chips come in different sizes and shapes. Lucky for me I found squared chips and the perfect sized hardboard.

After laying out and arranging the paint chips to my liking, a bit of a diagonal gradient, I had to figure out what to use to stick the paint chips on. I didn't want to stick it straight on the wall and worry about taking it off when we move, so I went back to the hardware store and found a large piece of white hardboard (48" x 36") for $15 that was just the size I was looking for. It wasn't too heavy but firm enough to stay standing against a wall. A canvas that size would have been much more expensive so I opted out of that option. The size of the chips and the board were meant for each other because I was able to get an even boarder all the way around.
2. Use double-sided tape on each corner of the chips and stick them down onto the board. You can either over lap the chips so you cover the shade names or leave them showing.  I left them showing so align the chips as straight and as close to each other as you can.

I used double-sided tape on the corners of the back of the chip to make sure that it would stick and stay down on the board but you could use a good glue or a spray glue but I find double-sided tape is less messy. If you have a look at the first one I made, you can kind of see the edges of the chips are a bit lifted, that's because I used a glue stick. I think double-sided tape is your best bet. It might take a bit longer but the end result is cleaner looking so it's worth the extra time.
I asked my handy boyfriend if we should frame it (and if would want to make one heh heh) and hang it or just leave it leaning against the wall and we decided on the latter, the easier route. 
3. Time to show it off!
I placed mine on top of our console table so that it was eye level and it worked perfectly in that spot. There you have it, a simple, easy, $15 piece of 'art' to fill up some wall space and add some colour!

READ MORE...

Saturday, March 2, 2013

Blueberry and Cream Cheese Wrap


A quick way to satisfy that sweet tooth! I've seen this done as a grilled sandwich but I wanted something on the lighter side. I usually get Mountain Bread for my lunch wraps but I found these new Sorj wholemeal wraps and decided to give them a try. They are quite similar to Mountain Bread wraps and are pretty tasty. I love how there are so many different options for wraps here in Australian grocery stores! Now, you could use fresh blueberries but I chose to use frozen blueberries because I would be grilling the wrap and wanted the blueberries to stay nice and cold.

You'll Need:

  • frozen blueberries 
  • light cream cheese (or regular)
  • light wrap
  • sandwich grill
  • dust of icing sugar (optional)

How To:

  1. Just simply spread as little or as much cream cheese to your liking
  2. Add a few blueberries 
  3. Dust a bit of icing sugar for an extra touch of sweetness
  4. Wrap it up and grill, on medium heat, it for about 30 seconds to a minute 
  5. Enjoy!
PS. This filling would totally be yum in a crepe too, might try that next time!


READ MORE...

Friday, March 1, 2013

Quinoa Sweet Potato Burger


I absolutely love this recipe for quinoa sweet potato cakes that I found by GenY Foodie. I was looking for ideas to make something with quinoa and sweet potatoes and Google search led me to this!

I am currently obsessed with quinoa and its versatility and I have also been having sweet potato cravings lately. So, I am thrilled to have found something that combines the two and, let me tell you, this quinoa sweet potato cake is very delicious, full flavoured and juicy. Even the boyfriend gave his 2 thumbs up knowing that it doesn't have any meat in it!

It is very filling and you can eat on its own, burger style, as a sandwich or break it up into a salad. Each cake is ONLY 164 calories (if you're counting that is)!

I chose to have it burger style:

  • sandwich thins
  • a dark green leafy lettuce
  • sliced cucumbers
  • avocado slices
  • havarti cheese
  • a touch of ranch dressing
And it kept me full and feeling satisfied. 


READ MORE...