Sunday, October 12, 2014

DIY Pallet TV Stand


Just showing off our TV stand that my handy, hubby-to-be made out of pallets.

 Also, check out the DIY Pallet Bed he made.


READ MORE...

DIY Pallet Bed


It's been a while since my last post! Because it's been a while since I got to do any crafty stuff. We have been doing a bit of travelling around Australia and have just settled in Darwin, and will be staying for a year then moving on again with our travels. When we first moved in to our cute little town house, that we share with another couple, we are on a bit of a budget. So, my handy, hubby-to-be and I decided to get our DIY on and make a bed out of pallets!

I had a look around for some ideas on Pinterest and the web and suggested to have little storage spaces within the bed because our room isn't all that big so the extra storage space would be handy.

We picked up a few pallets and away Shane went with the building, sanding and painting. The credit of the making of the bed definitely goes to him. I helped with painting a little bit *wink* but I wasn't as hands on with this on and just wanted to share his handy hard work. The perks of having a carpenter fiance! (Didn't get any action shots because he worked on this while I was at work)


We used some of the pallet slots for storing our shoes, and he came up with putting drawers at the end. He added some shelving to the bed head as well.


With the left over pallets, he then made a bed side table with a drawer, which I painted!


I just love our pallet bed! It turned out so good and we even got compliments on it from our landlord and asked Shane if he could make her one ha ha!

Shane also made a TV stand out of pallets, clever man.

So, here is another one to add to the collection of pallet DIYs ideas/inspiration!

READ MORE...

Thursday, November 21, 2013

Pumpkin Chocolate Brownie


I was browsing on the Yummly app one afternoon and came across a pumpkin chocolate muffin which intrigued me because I know how yummy chocolate zucchini cake is. So, I did some more searching around and found this Chocolate Pumpkin Pie Brownie that I wanted to try. Lucky me I had some pumpkin in the fridge that needed to be used! A super easy, super delicious, and not so naughty brownie.


So here is the recipe with a few changes of my own, after reading a few other similar recipes:
(adapted from this recipe)

You'll Need:


  • 1/4 cup unsweetened cocoa powder 
  • 1/2 cup white (or plain, all purpose flour, pastry, spelt, or even oat flour)
  • 1/4 tsp baking powder 
  • 1/4 tsp salt
  • 1/2c brown sugar
  • 1/2 cup pureed pumpkin (or canned pumpkin or pureed sweet potato) 
  • 3 tbsp oil (You can omit, but be warned: the brownies will be gummy) 
  • 2 tbsp milk of choice 
  • 1 1/2 tsp pure vanilla extract 
  • 1/2 cup chocolate chips (optional) 

How To:

  1. Make your own fresh pumpkin puree, further instructions here
  2. Combine dry ingredients, and mix very well. 
  3. Combine wet ingredients, then mix into dry.
  4. Pour into a greased pan (it will fill up half an 8×8).
  5. If you have left over pumpkin puree, put a few spoonfuls on the top and swirl it around.
  6. Cook for about 23 minutes at 330 F (170 C) or until a tooth pick comes out clean when you poke the middle.


READ MORE...
Tuesday, November 19, 2013

DIY Craft Table


Just wanted to share the craft table I put together for my sister and I, last September, in my parents' basement.

Here's is the mess and clutter it was before (don't mind the bad photo taken by an old BlackBerry and it's the only photo I have because I lost my camera with the before shots last year *tear*):


I'm sure some of you maybe have seen this brilliant craft table circulating Pinterest and DIY blogs. I got the idea from the Ivy Cottage Blog (which is no longer available) but here is one of the images from the post. 


I just loved how the 'legs' were shelves and it's a great way to store all your crafty knick knacks. 

I bought the shelves from Walmart and the table top from Home Depot. The teal colour on one of the backs of the shelves was just some poster paper painted with the same paint we used to re-paint the end tables on the entertainment side of the room. I decided to use it there to help create a flow between the two sides.

For the table top, I put a few rubber bumper pads underneath to prevent the top from sliding off the shelves. Alternatively, you could screw it down, but I decided not to in case we decide to move it or change it to a bigger table top. A special thanks to my sister, Tiff, for taking the photos while I'm on the other side of the globe.


Here are a few more ideas, and different versions of the craft table:
http://homemakerchic.com/tag/diy-craft-table/

READ MORE...

Friday, October 18, 2013

Halloween Inspiration - DIYs & Printables

I love seeing all the creative costumes and ideas that people come up with for Halloween. I also love dressing up and going to a great Halloween party. Living in Australia, Halloween isn't really celebrated as much as in North America so I was thinking about throwing a Halloween party here with a few friends but haven't decided yet because it has already been a busy month for us and will continue to be until Christmas, so we shall see!

So if you've decided to throw a party, here are some of my great ideas and DIYs - the little details and touches - to make your party spooktacular! I was thinking about making some Halloween printables but there are just so many awesome ones already out there so I'm also sharing my favs.

Decorations & Party Treats:

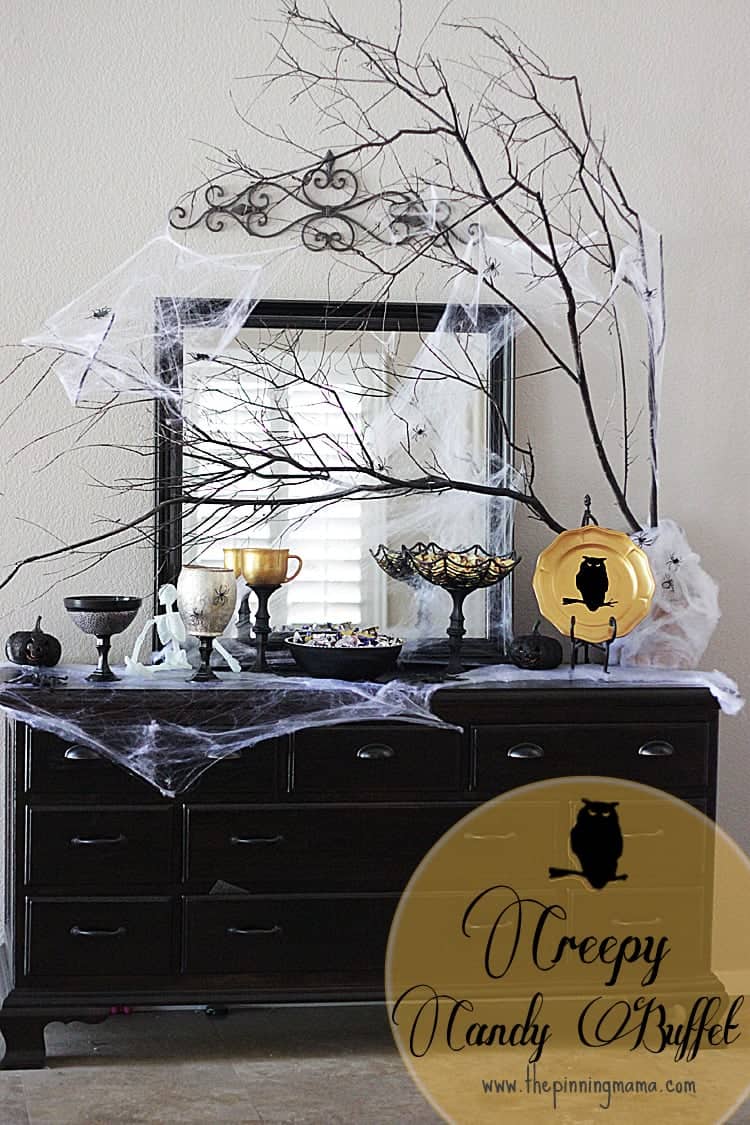
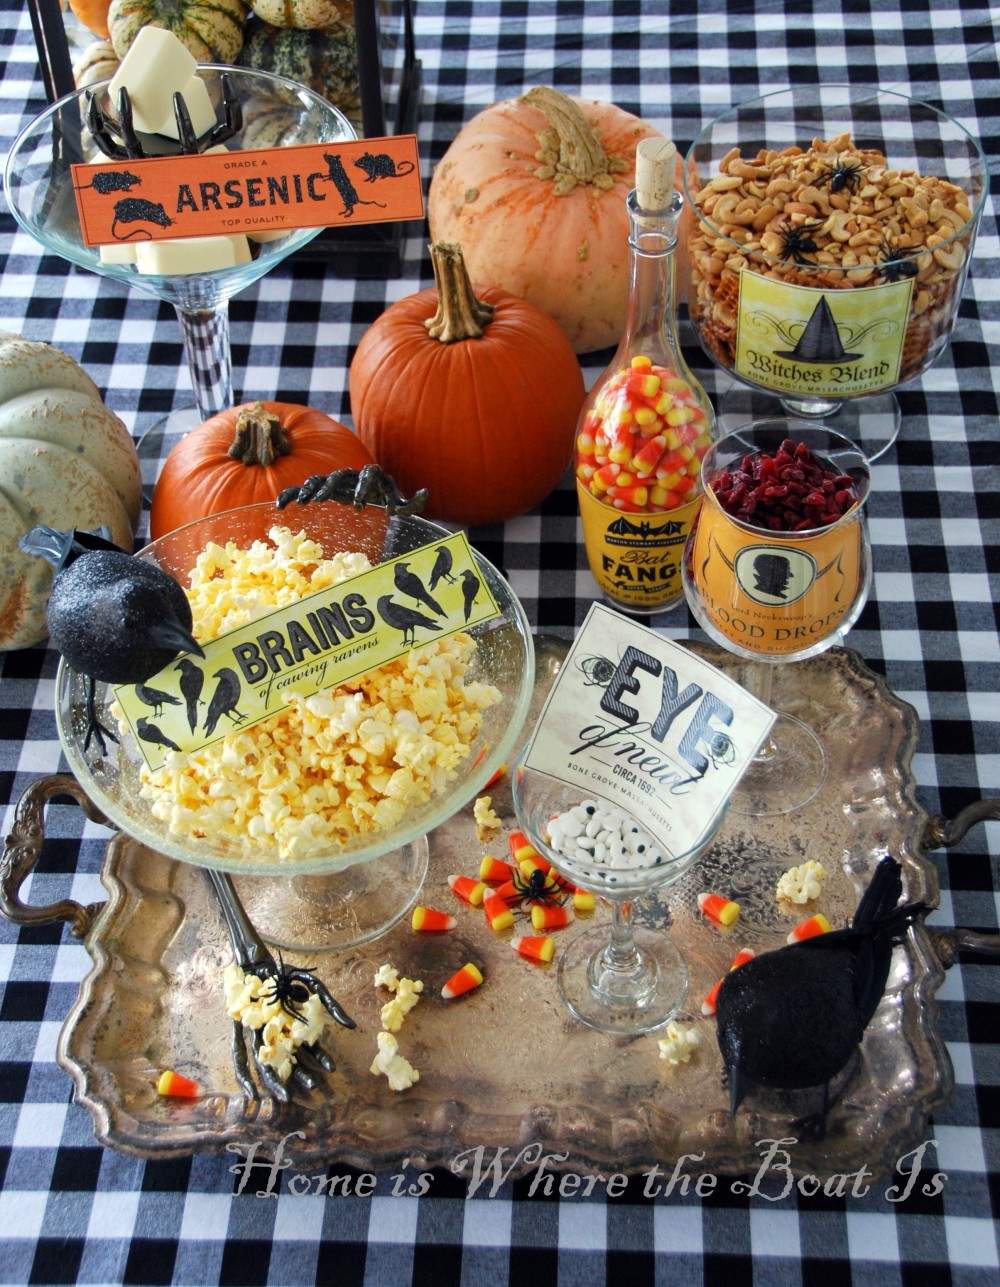
Halloween Creepy Candy Buffet | The Pinning Mama

Great 'Line-Up' photo booth idea | Ace Halloween / Smilebooth]
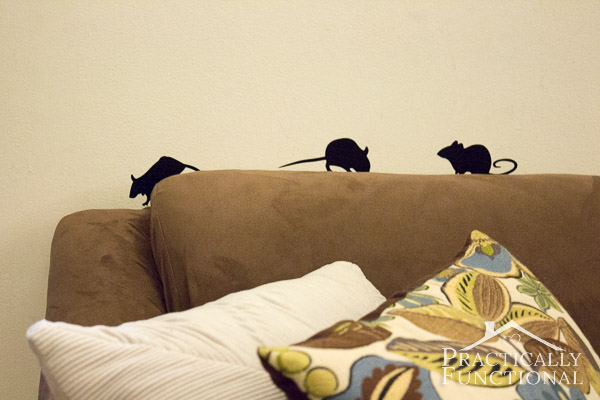
Here's a super quick and easy one, Vinyl Mice Halloween Decorations | Practically Functional
Ghost Caketoppers 2 Ways | The Craftinomicon


 Printables:

Cute Halloween Cupcake Toppers | Minted Strawberry

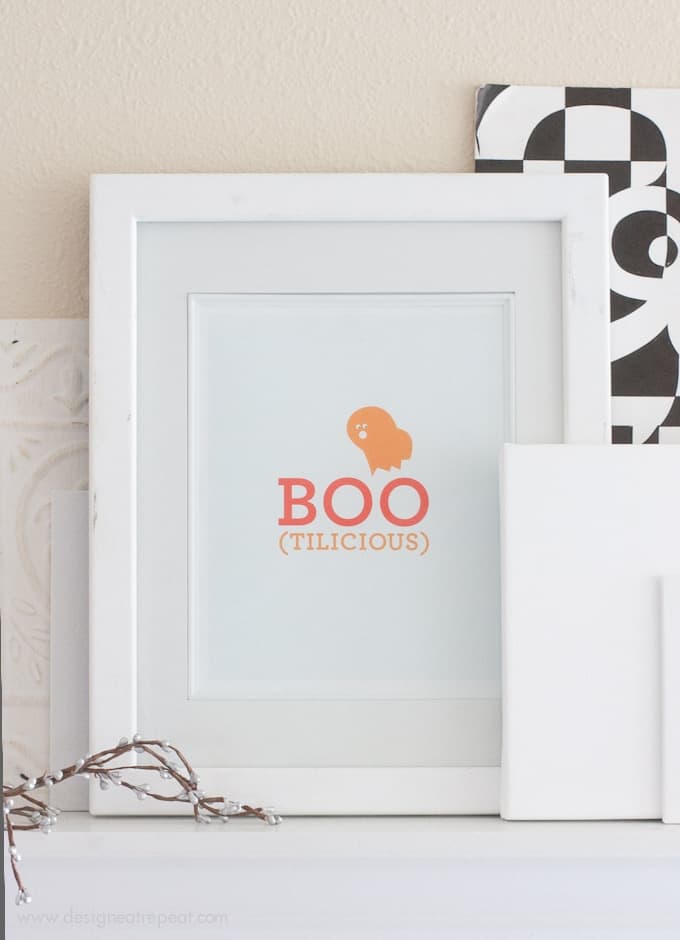
Halloween Printable Wall Art | Design Eat Repeat

Free Printable Halloween Treat Packets | Minted Strawberry

Cute Ghouls Party Rounds Halloween Printable | Design is Yay

A few different Halloween printables/labels | OnlineLables.com

Free Printable Halloween Banner and Bats | Liagriffith.com

Halloween Printable | Craft Pond


READ MORE...

Wednesday, October 16, 2013

Quick DIY T-Shirt Canvas Wall Art


Here's a quick and cheap DIY to repurpose that old favourite tee into something you can hang on your wall. I got the idea from a few blog posts and pins.

What you'll need:

  • a canvas
  • staple gun or thumbtacks
  • iron
  • a t-shirt. 


How to:

  1. Cut out the front of the shirt. 
  2. Iron away all the wrinkles and fold lines. 
  3. Position and centre the shirt on to the canvas, take into account the amount of stretch that will occur when stapling (which I missed in one section so the graphic isn't totally straight, but it still looks alright!). 
  4. Pull fabric tight over the back and staple or thumbtack
  5. Display!

Here's a few posts that inspired me and how-to's: 
DIY T-Shirt Canvas Artwork
Recycled T-Shirt Canvas Art
DIY Canvas Wall Art


READ MORE...
Friday, October 4, 2013

Printable: Thanksgiving Gift Tags


Happy Thanksgiving to everyone in North America! (October for Canada and November for the US)

I really miss my mom's Thanksgiving dinners. Since I have been living in Australia, I have missed two Thanksgivings, this year being the third. I miss the food coma and the itis I get from eating too much during this yummy holiday! Maybe I will try cooking my own Thanksgiving dinner this year?.... hmm... yes.. maybe I will, if I can find a turkey that is! 

Well, to celebrate I've made some Thanksgiving themed gift tags. 

Ways to use them:  if you have a small hole punch, punch a hole in them and loop some twine through, then hang/tie the tag to a wine bottle, gift basket, or bag/box of goodies, etc.


READ MORE...

Saturday, September 28, 2013

Recipe Share: "Melt In Your Mouth Kale Salad"


I just wanted to quickly share with you a great recipe I found while searching for some kale salad inspiration. It's yummy and it's super easy to make!

Skip the kale massage, and pull out your food processor.

This "Melt In Your Mouth Kale Salad" by Food Babe is a hit with those that I've made it for. Even the boyfriend highly rates it! So try it out and let me know how much you like it.

Recipe as follows:
Melt In Your Mouth Kale Salad 
 Prep time 10 mins | Total time 10 mins

Author: Food Babe
Serves: 2

You'll need: 


  • 1 bunch of lacinato or dinosaur kale, stems removed, rinsed and patted dry 
  • ⅓ cup currants, or chopped raisins (I left these out since I don't really like raisins)
  • juice of one lemon 
  • 1 tbsp of olive oil 
  • 1 tsp local honey (adjust to your liking)
  • ½ cup pine nuts toasted salt and pepper to taste 
  • 4 tbsp grated raw parmesan cheese 

How to: 


  1. In a food processor, process kale into small chopped pieces
  2. To make dressing, stir lemon juice, olive oil, honey, salt and pepper together in a large bowl 
  3. Add chopped kale, currants, pine nuts and parmesan to bowl with dressing 
  4. Stir all ingredients together and serve 
  5. (Optional – Save some pine nuts and/or parmesan cheese for top of salad before serving for presentation purposes) 
Notes **Choose all organic ingredients if possible**


READ MORE...

Tuesday, September 24, 2013

Parsley, Mint, Sweet Potato and Quinoa Salad


From Leftovers to Newovers: I had some mint, parsley and quinoa in the fridge and started searching online for some recipe inspiration which used these ingredients. I found this great Parsley, Mint and Quinoa Salad recipe by Martha Stewart which I experimented with by adding some other ingredients to the recipe.

I just love it! It's so refreshing with the mint and lemon. It was one of the dishes I made for Shane's 30th back in April and finally got around to posting the recipe for it. Great on it's own, side salad or with pita!

Parsley, Mint, Sweet Potato and Quinoa Salad
(adapted from this recipe)
Makes about 6 servings.


You'll need:


  • 1 medium sweet potato
  • 2 cups flat-leaf parsley leaves finely chopped 
  • 2 cups mint leaves finely chopped 
  • 1-2 cucumbers diced
  • 1-2 cloves of minced garlic
  • 2 green onions chopped
  • 3/4 cup cooked quinoa (from about 1/2 cup dry) 
  • 1 tablespoon finely grated lemon zest, plus fresh lemon juice 
  • Extra-virgin olive oil 
  • Coarse salt 


How to:


  1. Cook quinoa ahead of time and let it cool down completely. (Here is a great recipe on how to cook perfect quinoa every time)
  2. Preheat oven to 180ºC (about 365ºF). Peal and dice the sweet potato. In a bowl, drizzle a bit of olive oil and toss to lightly coat. Spread the diced sweet potato on to a baking sheet lined with baking paper. Bake for about 15 to 25 minutes and turning them over half way through.
  3. Combine chopped parsley, mint, cucumber, garlic, green onions, cooled quinoa, in a large bowl.
  4. Mix in a juice of a lemon, lemon zest, olive oil and a touch of salt and mix it all together
  5. Once the sweet potato is out of the oven and cooled, mix it in with the salad.
  6. Serve as the main dish, a side salad or with toasted pitas.

Optional:
Serve with pita

  • 3 whole-wheat pitas (or tortilla, which is what I had in my pantry at the time) - heat up pitas or tortillas, until toasted, on a sandwich grill or under the broiler in the oven. Cut into wedges.
  • In a bowl, a couple spoonfuls of greek yogurt with a sprinkle of crushed red pepper flakes, salt and olive oil.


READ MORE...

Thursday, July 4, 2013

DIY: Painted Table & Chairs Makeover


So I got this free table off of Gumtree (like a craigslist/kijiji but in Australia), late last year, just as an extra table for our old place. I've always had ideas around painting and revamping it but it wasn't in bad shape and still looked decent so just never got around to it. Finally the day came, a few weeks ago, where I was really motivated to give this thing a makeover! 

I got some inspiration from a collection, I saw in a Home Beautiful Magazine, by Swedish designer Per Söderberg. The table had a dark top and yellow legs and I immediately loved it! 

Went to the local hardware store, stood in front of the paint samples for ages (with a boyfriend, growing very impatient, wandering around the store), I finally decided on a light, bright yellow for the legs and a grey for the top. I really should have went and chose the fabric for the chairs first but I chose it after getting the paint and lucky for me I came across this lovely yellow and white chevron, velvety fabric that was a great match. 

I'm not going to do a how-to as there are so tutorials out there already (like this one). I just wanted to show off my new set of table and chairs and perhaps give you guys some ideas for your next painting project! After a few coats of paint (I realized how painful it is to paint chairs haha) and staples here and there, and taa daaa, I sooo happy with the way it turned out!! Even Shane was impressed! ;)


READ MORE...